Category : Digital Printing

Digital Printing Vehicle Applications

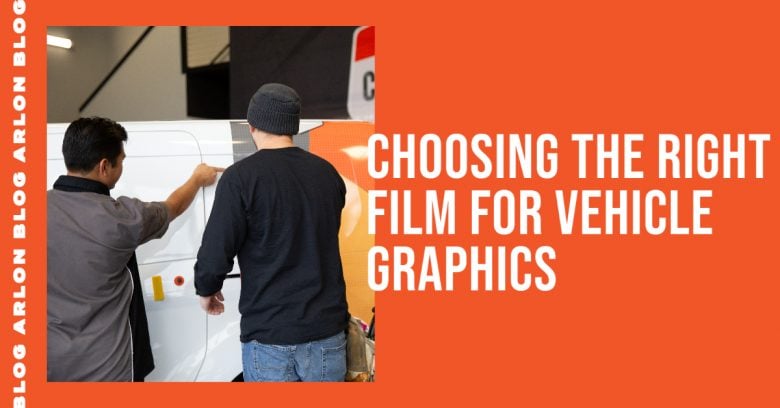
Choosing the Right Film for Vehicle Graphics

Choosing the right film for a vehicle wrap that caters to the project you are working on can be difficult.  But taking the time to select the right film can lead to more efficient installations saving you time and money. To make your decision process easy, we’ve outlined the top eight questions to ask when choosing the right film for your vehicle graphic.

1. What Can be Wrapped?

People assume that everything on a vehicle can be wrapped. However, wrap films are primarily designed to adhere and remove well only on factory-painted panels of the car. Aftermarket paint, preexisting damage, and any signs of touch-up are suspect on the guaranteed performance of any wrap film. 

Rubber glazing around windows and silicone caulking, whether painted or unpainted, are also no-go zones. The adhesive will stick during installation, but it is guaranteed to fall off sooner or later. Caulking and rubber are unstable; they expand and contract with very little temperature change. The supple and porous surface does not provide a uniform platform for the adhesive to settle. It is common to see rubber trims oxidize, giving off a soot-like substance that will weaken the adhesive over time.

Hard-to-stick surfaces such as unpainted textured plastic found on bumpers, side trim, door handles, and mirrors require specialty films like DPF 8000™ or DPF 8200. While clients might insist on over these surfaces wrapping over them, keep in mind that these areas take quite a beating and that any wrap over them will be damaged.

2. What is your Budget?

Several factors drive the cost of applying graphics on your vehicle:

  • Type of wrap film
  • Design work
  • Production time, ink, and overlaminate
  • Square footage of vinyl
  • Complexity
  • Labor

3. What types of vehicle wrap films are available?

Most wrap films are made of PVC. Non-PVC or PVC-free films are available, but vinyl is the majority of the market. Then under vinyl films, you can choose between cast or calendered.  If you are interested in learning more about Cast vs. Calendered, read more here

4. How much coverage do you need: cut decal, partial, or full wrap?

The first option is to cut decal. This type of vehicle graphic typically uses cut vinyl such as Series 2100 or Series 5000. Cut vinyl is not printed but come in rolls of solid colors and can be combined to create a multi-color graphic. Compared to printed vehicle graphics that uses ink on white vinyl, the pigments are embedded in cut vinyl that they will retain their vibrancy for up to 10 years!

The next option is print-cut graphics or a partial wrap. This graphic leaves the vehicle’s original paint partially visible. A print-cut graphic is like a cut decal, except you need a roll of white printable vinyl and an overlaminate to protect the print. This setup will allow for gradients and custom colors without the need to register multiple single-color vinyl layers. A partial wrap, on the other hand, involves less cutting, masking, and transferring graphics. A large sheet of vinyl is printed, laminated, and applied to the vehicle.

Box truck and Pruis Wrapped In Arlon Fusion Wrap Vehicle Wrap Vinyl Film

Then comes the full wrap. Some would only call it a full wrap if everything painted on the exterior has vinyl while some will leave the roof, bumper, door handles, and other small parts uncovered and still call it a full wrap. Regardless of the matter, a full wrap covers at least 90% of the “wrappable” area in a vehicle.

5. Do you Need an Overlaminate?

For printed graphics, yes. In this Tech on the Road video, we briefly touch on why you should consider using an overlaminate for your graphics.

6. Do you need it to be permanent or temporary?

In the graphics industry, there are three terms used when describing the longevity of graphics:

  • A promotional or short term which is up to 3 years
  • Medium-term which is 3-5 years; and
  • Long-term or permanent which is 7-10 years

Each vehicle graphic has a specified period in which it can be removed with little to no adhesive residue and without damaging the original paint. Always verify the removal warranty of your wrap with both the shop and manufacturer. Also, it’s important to know that any use of a primer or adhesion promoter will void the removal warranty of a wrap. 

7. What does Arlon recommend for partial or full wraps?

A budget-friendly option is DPF 4600GLX, with Series 3420 overlaminate. This film is rated for five years but only on mild curves and relatively flat surfaces. However, if it has to cover an area with some complexity, a more flexible laminate may be necessary like Series 3170, and that also raises it to 7 years. You can also upgrade the base film to Fusion Wrap speed up the installation.

If a vehicle has some deep grooves and sweeping curves, SLX® Cast Wrap will conform the best and without the need for relief cuts or seams. It will be paired with cast overlaminates such as Series 3210 or Series 3220. But for roofs or hoods, anything horizontal, where the vinyl will weather the fastest, use an overlaminate with an extended horizontal warranty like Series 3310.

8. Are you looking for 24/7 Advertising?

Consider using a reflective wrap film like IllumiNITE Wrap® or DPF 2400XLP paired with Series 3210 for a head-turning wrap that won’t miss an impression to a potential client.

Vehcile Wrapped In Arlon IllumiNITE Wrap Vinyl Film

Taking the time to learn the right product for your next job is always a good idea, and asking these nine questions when choosing the right vehicle wrap film will be sure to set you up for success. Learn more about Arlon by following our social media channels @arlongraphics.

Share This:

Read More
Digital Printing Signage

Covid-19: Free Downloadable Signs Part 2

Signage is playing a monumental role in bringing awareness to ever-changing health and safety guidelines around the globe. As businesses transition into new phases, it’s often the little things like updating signage that can make a big difference. Our team developed a COVID-19 Downloadable Signs Part 2, to help ease your transition into the next phase.

All signs are available in English and Spanish. To download the files, click the link below for each image group. Click here for Part 1 of COVID-19: Free Downloadable Signs.


Curbside Pickup

Click Here for English Downloadable Sign
Click Here for Spanish Downloadable Sign


Floor Signage

Click Here for English Downloadable Signs
Click Here for Spanish Downloadable Signs


Face Mask Informational Signage

Click Here for English Downloadable Signs
Click Here for Spanish Downloadable Signs


No Contact Service Signage

Click Here for English Downloadable Signs
Click Here for Spanish Downloadable Signs


Safety Notice Signage

Click Here for English Downloadable Signs
Click Here for Spanish Downloadable Signs


Numbered Parking Signage

Orange free downloadable parking spot sign for Covid-19 Signage

Click Here for English Downloadable Signs
Click Here for Spanish Downloadable Signs


As you look for the sign that suits your business needs, remember to rely on the best print films around.

For Floor Applications, the following Arlon products are UL 510 certified for slip-resistance: Series 3220, Series 3420, DPF 510 Removable, DPF 4600GLX/MLX, and DPF 8200X High Tack.

For POP signs or A-Frame Signs: DPF 510 Product Line, DPF 4600GLX/MLX, DPF 8000™ Ultra Tack, DPF 8200 High Tack, and DPF 8200X High Tack.

Learn more about our products on our website. If you have any questions or comments, make sure you leave them down below.

Share This:

Read More
Digital Printing Signage

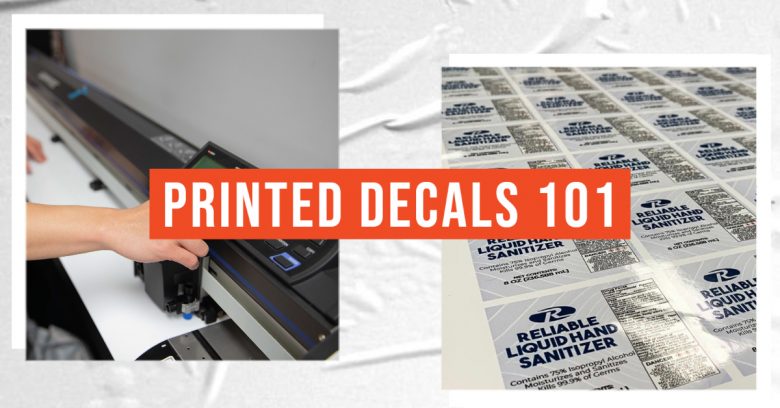
Printed Decals 101

Producing printed decals is how many sign shops get started in the graphics industry. Nonetheless, if you’re just getting started or need a refresher, we worked with our Technical Expert, Louie Calma,  to outline the basics of printed decals; from what blade to use to when you should vector vs rendor your project.

Design

First, start with the design of the printed decal. If your decals have letters, consult a letter visibility chart for maximum impact. A rule of thumb is 10 feet viewing distance per inch height of the letter. For example, a 3-inch tall letter will be visible at 30 feet. Also note that if you are using the points (pt) system, 1-inch is equal to 72pt. However, if the sign or the viewer is moving, I would recommend 5 feet per inch with sans serif fonts.

Which blade to use?

Make sure to consult your plotter’s manual for your a suitable blade for your project. In most cases, thicker overlaminates such as ProTec Series 3960 or reflective films require a specific blade.  Once you have identified the correct blade for your project, make sure that both the blade and cutting strip are in good condition. Then, adjust the blade depth according to the thickness of your material. If you are cutting intricate shapes such as thin lines or pointed edges, check whether your cutter has a tangential or overcut function.

Check out this HUB post for tips and tricks on cutting and weeding small letters and decals.

Vector or raster?

Louie is a  big proponent of favoring vectors over raster images, especially when it comes to cut decals. Of course, it is possible to create printed decals with a raster image by tracing its edges and setting that up as a separate cut layer. However, it’s important to make sure you simplify or smooth the cut path, so you don’t end up with zigzag cuts. It will also be faster because a smooth path is shorter than zigzag.

If you’re running different software brands for RIP and design, always look up the procedure on how to correctly set up a cut path layer. Here’s an article from Roland DGA, The Perfect Setup: File Preparation For Print/Cut Production.

Can I cut through the liner?

Most printed decals are produced by cutting through the liner instead of just the print film, where the liner remains intact. This process involves more than increasing the blade depth and cut force. Doing these two things will cut through the liner, but the decals will also fall out immediately. If this happens, it means that as you’re cutting, some or most of the pinch rollers will have no film to pinch that you will lose registration or worse.

If you must cut through the liner while keeping them intact till the end of the job, there is a cutting process called PerfCut or perforated cut. Rather than cutting a continuous path, the blade will “skip” and leave tiny tabs so that the decals will hold onto the sheet until you pop them out. Each brand will differ on how to set up this process, but here are some online resources:

Which products should I use?

Arlon has a wide selection of products for your decal needs. For decals that are 4 inches tall or less, a film without air egress will suffice. Consider using air-egress films for larger or beginner-friendly decals.

DPF 510 is a typical product used for giveaway printed decals. DPF 4500 is your next choice for medium-term stickers like labels on standard surfaces. You can also consider using DPF 8200 High Tack for surfaces that need a high tack adhesive. Don’t forget to use an overlaminate to prolong the life of outdoor decals. Make sure to familiarize yourself with the print-lam-cut feature of your equipment.

Share This:

Read More
Digital Printing

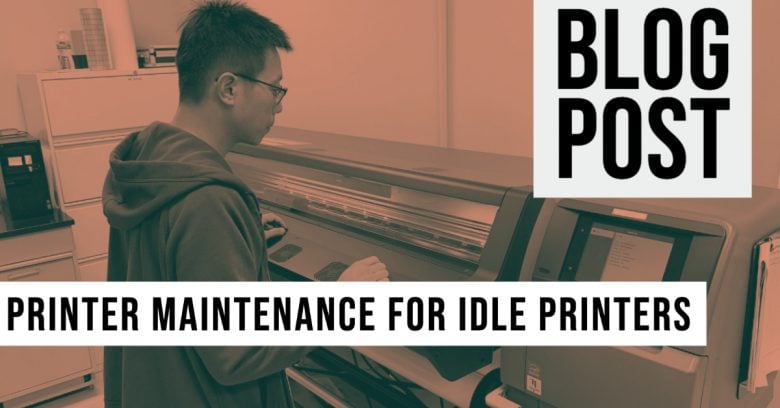
Printer Maintenance for Idle Printers

Printers run thousands of hours with repetitive motions, and while it can be time-consuming, investing time into printer maintenance is a crucial step in keeping your printer running efficiently. But what if your printer has been idle and out of commission for a few weeks? Should you take extra steps before firing up your first print? Yes! Printers are designed to run for hours on end, so when they’re out of operation for an extended period, you need to take additional maintenance steps before starting up production.

Chi Chan, Arlon's Technical Engineer

Chi Chan, Arlon’s Technical Engineer, has put together the below tips to ensure success when rebooting your printer.

  1. Perform a manual maintenance cleaning by changing the printhead wiper and felt, and cleaning any ink around the printhead.
  2. Empty your ink waste tank to avoid dry ink from rubbing on the printheads during your auto clean. 
  3. Flush the ink that has been idle in the printhead for weeks by running your auto clean 1-3 times.
  4. Check your nozzles to ensure they are all healthy and don’t need to be replaced.
  5. Run a print test to confirm print quality, and this will also show you if there is banding being caused by clogged nozzles. If you do see a clogged nozzle,  repeat the cleaning process above until clear.
  6. Update your system. Before you resume production, make sure your software is the best it can be by making software and operating system updates.

Performing maintenance after your printer has been idle is a crucial step that will help increase the longevity of your printer and ensure your first print runs flawlessly. Are you looking for everyday printer maintenance? Check out our post on The Importance of Printer Maintenance.

Share This:

Read More
Digital Printing Signage

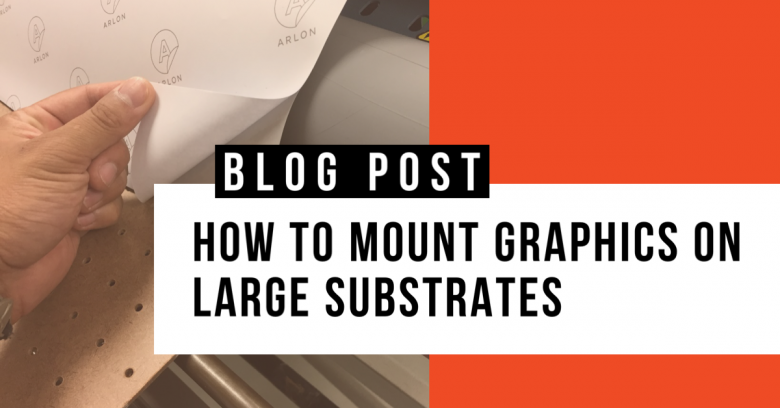
How to Mount Graphics on Large Substrates

How to Mount Graphics on a Large Substrate

In digital printing, UV printers and HP Latex R-Series now can print directly on a substrate, making mounting graphics on large substrates a thing of the past. Yet, not every sign shop will make that type of investment, and the alternative of mounting graphics on large substrates can be a challenge. To help this part of your application process, we’ve created a step-by-step guide on how to mount graphics on large substrates.

Step 1

Set up the laminator so that the rigid substrate is supported from the front and back. I’ll be using the platen of the UV printer (the flat part of the printer where the media rest during printing) to support the substrate as it feeds into the laminator and the table to catch the finished product.

Step 2

Open the nip all the way up and feed the substrate into the laminator in reverse.

You might be wondering: “Why not just use the UV printer to print directly on that 4’X8’ pegboard?” Good question! We didn’t print directly on the board because there is not enough space behind the printer to fit the substrate.

Step 3

Dry fit the graphic on the substrate to make sure that the graphic is positioned correctly relative to the substrate.

Step 4

Place a weight over the graphics and fold about 25% of the graphic’s leading edge.

Step 5

With a liner back slitter such as the YelloTools’ BodyGuard Knife -Teflon, cut a 2” strip hinge and remove the liner strip.

Step 6

Fold the leading edge back onto the substrate and apply the strip hinge with a squeegee.

Step 7

Manually feed the pre-mounted graphic into the laminator until the strip hinge is just past the nip rollers. The UV printer’s platen is only used to support the substrate.

Step 8

Square the substrate with the laminator, close the nip, and peel off the liner below the hinge strip.

Step 9

Run the laminator forward and carefully remove the liner by grabbing it as close to the middle for even tension.

Step 10

Once you reach the end of the substrate, rotate it 180° and feed into the laminator just past the strip hinge.

Step 11

Repeat from step # 9 and apply the remainder of the graphic. Trim excess film.

When mounting graphics for large signs, a little creativity can go a long way. Now that you know the steps, you’re ready to go out and mount those signs.

Share This:

Read More
Corporate Digital Printing Signage

COVID-19: Free Downloadable Signs

As we deal with the COVID-19 pandemic, signage is playing a crucial role in keeping communities safe and informed. We understand the challenges businesses are facing, and we are committed to doing our part in assisting in any way we can. Our team has come together to create downloadable signs for you to use that communicate essential information to the public, your customers, or your employees.

All signs are available in high visibility and low ink options as well as English and Spanish. To download the files, click the link below each image group.


COVID-19 Prevention Signage


Physical Distancing Signage


Prevention Posters


Healthcare Signage


Restaurant Signage


General Open and Closed Signage


Curbside Pickup Signage

Covid-19 Orange Curbside Pick-up Here Sign
Click to Download English
Click to Download Spanish

Share This:

Read More
Digital Printing Wall Applications

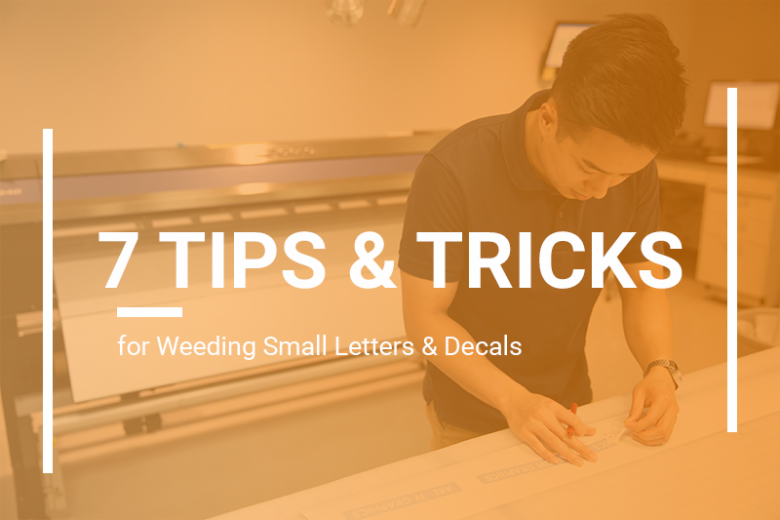
7 Easy Tips & Tricks for Weeding Small Letters & Decals

7 Tips and Tricks - Weeding Letters and Decals

Do you know the hardest part of making small decals and letters? Weeding!

If you are not familiar with weeding, it is removing all excess material from any decal or graphics that are cut-to-shape. Weeding small letters and decals can be a difficult task, but learning how to weed small letters and decals is crucial knowledge to have in the sign industry.

Here’s a rundown of our best tips whether you’re looking to take a design to the next level or need a refresher on weeding small letter and decals follow these tips and tricks below.

1. You need the proper tools, having the right tools will make your weeding a breeze. Our technical experts agreed that the YelloHook from YelloTools is the perfect addition to any tool kit.

Man weeding letters

2. Choose the correct vinyl with a tight liner release. A firm liner release ensures that small decals stay down during weeding, and allows you to weed with greater confidence and speed. Arlon recommends all of our cut graphics, and for print, we recommend DPF 6000RP White.

3. Check on your machine; confirm that your blade is in pristine condition. Using a dull blade will lead to poorly cut decals and make the weeding process very difficult.

4. Before starting your job, perform a depth cut test. Running a cut test ensures that the vinyl cuts thoroughly and that the decal is not attached to the excess material.

Pressing a button on a weeding machine

5. Weed directly after cutting, waiting too long to weed after cutting will allow the adhesive to flow back, causing the design to lift with the excess vinyl.

6. Try your best to keep your fonts simple; try using Sans Serif fonts. The sharper the edges on a font, the longer your weeding process will be.

Hands weeding a white vinyl

7. All of these tips are important to the weeding process, but it all comes back to one thing, patience. Take your time when weeding small decals and letters, essential but straightforward, weeding is a time-consuming task that is done best when you’re taking your time.

What are your favorite tips and tricks for weeding small letters? Let us know in the comments below.

Share This:

Read More
Digital Printing

Print Profile FAQ’s

Printer profiles are used daily in a print shop to achieve the highest quality color prints, and they play a significant role in the success of your project. Each vinyl manufacturer has different gloss levels and white points that affect the color of your graphics, meaning that even with the best print profile it’s important to make sure you are working with the best product.  With companies like Arlon providing profiles for most printers, you would think you have all your bases covered, right? Not exactly! To help when you run into any roadblocks when creating print profile we’ve answered some of our frequently asked questions.

1. Why is an ICC profile important for printing?

ICC profiles provide accurate color, optimized ink linearization, and printer heat settings. Without the correct media profile, the media may get overloaded with ink, head strikes may occur during printing from temperature being too high or large of a gradient between the heat zones, or an unnatural color may arise.

Printer Profiles: Configuration

2. Why is ink configuration important?

Printer manufacturers design their printers to be able to run 4 colors (CMYK), 6 colors (CMYKLcLm), 7 colors (CMYKLcLmLk) or more and because of this, each ink configuration requires its own unique profile on the printer.

3. What is the difference between 6, 8, and 12 pass?

A 6 pass profile will require the print head to laterally travel 6 times to print 1 linear inch. Lower pass numbers tend to lead to lower resolution and faster printing speed. This means that a higher pass number, like a 12 pass, will provide higher resolution but slower print speed.

Printer Profiles: Checking PassesArlon’s Tech Service Engineer Chi Chan checking the pass of the printer

4. What pass should I choose when printing?

– 4-6 passes are best used when printing a banner.
– 8-12 passes can be used when printing for a car wrap and canvas printing.
– 12 passes and higher are great for backlit signage as it needs a high ink load.

5. What is the general temperature for vinyl regardless of what printer?

In general pre-heat: 96.8°F -104°F (36°C-40°C), Printer: 100.4°F – 104°F (38°C-40°C), Post heat: 122°F- 131°F (50°C-55°C).

6. What happens when the heater setting on a printer is too high?

Latex: Blisters can develop on the vinyl surface; print quality can also be reduced.
Solvent: Waffling can cause risky print head strikes and damage.

Printer Profiles Problem: Blistering under High HeatBlistering occurs when a heater setting on a printer is too high.

If you’re ever questioning what print profile to use check out Arlon’s ICC Profile Page and if you need help unloading a profile, wrapitright.com has videos for several RIP softwares and printers.

Share This:

Read More
Digital Printing Events Manufacturing Vehicle Applications

Arlon Provides an Interactive Experience at SGIA 2018

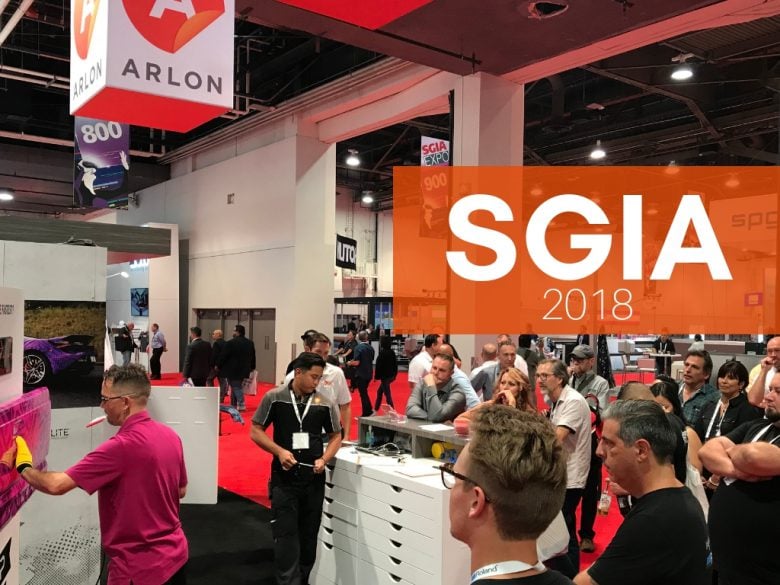
A huge thank you to all that visited our booth at SGIA 2018 Las Vegas, NV! This year the show had more than 25,000 registered attendees with a sold-out Expo floor. The aisles were filled continuously with attendees excited to see the latest sign and graphics technology.  Arlon had a very successful show, and in case you couldn’t make it here is what you missed.

Attendees flocked to the Arlon booth to get hands-on experience with the newest FLITE Technology™ products, SLX™ Cast Wrap and IllumiNITE Wrap™. During the show, the booth was busy with people participating and watching the Wrap Dash. Installers raced against the clock installing SLX Cast Wrap on a truck tailgate and with no surprise the ease of installation that FLITE Technology provides had participants wrapping at an average time of 6:45.

The fastest Wrap Dash time was set by Eric Peixoto of Incognito Wraps

Arlon’s Marketing Director of the Americas, Nicole Witt noted the wrap dash was a great success saying, “We wanted to create a competitive, yet exciting challenge that would attract talented installers of all levels to get hands-on with SLX Cast Wrap.” She went on to say, “We were thrilled with the engagement and buzz this created at the SGIA Show.”

Attendees gathering to watch the Wrap Dash Challenge

In addition to the Wrap Dash, attendees were lined up to get their chance to take a quick tour in the Dark Room Showcase. Visitors were able to experience the vibrant nighttime effects that IllumiNITE Wrap and R108 Conspicuity Tape can have together in adding impressions to corporate branding while keeping safety top of mind.

Other highlights included our wrap experts Matt Braswell and Louie Calma holding daily wrap demonstrations showcasing best practices for a successful installation using Arlon products. Arlon Sales Representatives we’re seen throughout the booth providing knowledge and details on all Arlon products.

Technical Sales team member Matt Braswell showing the benefits of IllumiNITE Wrap™

Overall, this show had fantastic energy. Arlon’s booth was a success in providing attendees with an interactive experience. From the Wrap Dash and the Dark Room Showcase to in-booth demonstrations, Arlon brought a fresh feel to the SGIA tradeshow.

Share This:

Read More
Digital Printing Manufacturing Vehicle Applications

Caring for Your Vehicle Wrap in Hot Weather

Hot weather wraps need extra care

Summer months are known for having the longest and hottest days of the year. During this time, the amount of UV exposure increases significantly. An extended amount of UV exposure is the greatest enemy to your vehicle wrap. In these hot weather months, your vehicle is going to be susceptible to damage caused by environmental factors. Protect your investment from damage by following the steps below:

What does Arlon do for Weather Testing?

When developing a product, Arlon tests products in extreme climates.  We test new products in hot weather climates like Florida, California, and Arizona. During the testing process, we are constantly checking for browning, shrinking, and cracking. This is done to ensure that when you use our film your application will withstand the high temperatures.

What can you do to Protect Your Vehicle Wrap?

  1. Keep Your vehicle Out of Direct Sunlight
  • After a period of time, the rays of the sun can take their toll on your vehicle. When you’re not driving your car, it’s best to keep it inside and away from harmful UV Rays. With this in mind, always try to park in a shaded area whenever available.
  1. Use A Recommended Protective Overlaminate
  • Protective overlaminates are formulated to provide your vehicle wrap with UV protection. Overlaminates act as an additional barrier from the sun. Read more about the importance of overlaminates HERE.
  1. Brush Off Dirt and Debris in Between Washes
  • In the summer months, dirt and airborne particles can be baked into the film, leaving a stain on the vehicle. This is most common in high volume traffic areas. The stain may appear as black dust or overspray but you will not be able to remove it from your vehicle. Always make sure to take a few minutes each day and brush off any particles that may have fallen on to your vehicle.
  1. Hand Wash Weekly
  • How often you need to wash your vehicle will vary based on your location. You’ll know it’s time to wash your vehicle when you start to see a build up that cannot be wiped off by hand. On hot days, we recommend hand washing with cold-water, preferably in a shaded area. Wash with automotive grade car wash soap and follow the recommended dilution.

When temperatures hit triple digits, your wraps need a little extra care. By following the steps listed above, you can keep your vehicle wrap looking brand new.

Share This:

Read More
1 2
Translate »